
Wednesday, August 31, 2011
Handprint Apple Tree!!


Monday, August 29, 2011
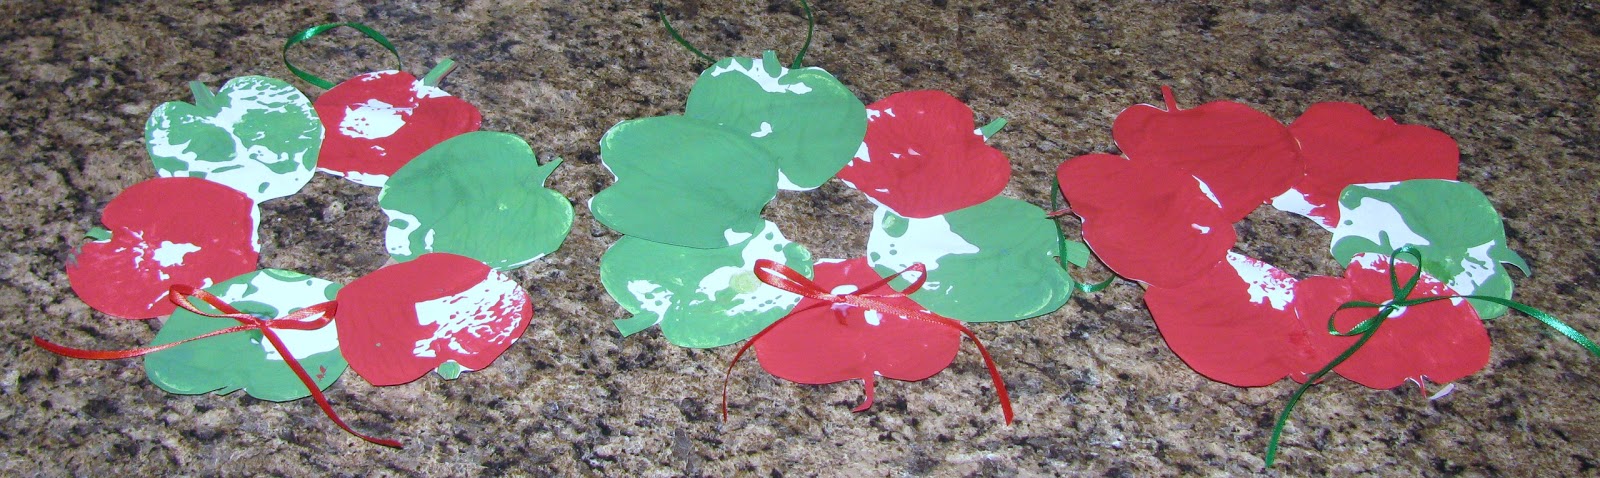
Apple Print Wreath!
Thursday, August 4, 2011
First Name Ice Cream Cones!
Project: First Name Ice Cream Cones - Trace hand on construction paper and cut out. Cut cone shape out of brown construction paper. Glue hand print to cone. Use foam stickers to make first name and attach to the ice cream.
 Materials Needed: colored construction paper, brown construction paper, scissors, foam stickers, glue stick

Wednesday, August 3, 2011
Milk Cap Bugs!

Directions: Cut a set of heart-shaped wings out of a plastic jug. Hold the wings in place on top of a plastic cap - I used milk carton caps. Use push-pins to make two holes through both. Fold an 18-inch length of floral wire in half and thread the ends through the holes. Then twist the wires to secure them into place. For the eyes, use a hole puch to make black craft-foam pupils, and use scissors to cut larger circles from white craft foam. Attach the yeas to the cap with a 4-inch lengh of floral wire just like before.
Materials Needed: milk carton caps, plastic jug, floral wire, push pin, black and white craft foam, hole punch, scissors
Tuesday, August 2, 2011
Jelly fish!

Thursday, July 28, 2011
Plastic Cup Lighthouse!

This project is from the August 2011 issue of Family Fun Magazine. My 6 year old son was looking through the magazine and said, "Mom, we have to make this!" It was very easy to make and Connor was able to do most of it all by himself!
Plastic Cup Lighthouse - Apply white tape around a red plastic cup (in three different sections) Cut out black rectangles - 1 larger one for the door and 2 smaller ones for the windows. Glue to the cup. Trace the bottom of a clear plastic cup onto black paper. Cut the circle out and glue to the bottom of the cup. Cut a 1 inch section off the top of a clear plastic cup. Place rechargeable tea light on top of red plastic cup and cover with cut clear plastic cup.
Materials Needed: red plastic cup, clear plastic cup, black paper, white tape, scissors, rechargeable tea light, glue, pencil
Friday, July 8, 2011
Foamerator!!
Project: Foamerator - This project if from Family Fun Magazine. Directions: Cut the bottom off of a plastic water bottle. Cut a square from a towel (enough to amply cover the bottom of the water bottle. Use a rubber band to secure the towel over the bottom of the water bottle. Place dish soap and water into a shallow pan/tub. Dip the water bottle, towel side down into the dish soap and water. Then blow on the mouth of the water bottle to create bubble foam!! Connor, Ty and Addie had a blast with all of the foamy bubbles!
![]()
![]() Materials Needed: plastic water bottle, scissors, towel, rubber band, dish soap, water, pan/tub
Materials Needed: plastic water bottle, scissors, towel, rubber band, dish soap, water, pan/tub


Subscribe to:
Posts (Atom)