Showing posts with label placemats. Show all posts

Wednesday, March 16, 2011

Shamrock Placemats and a Pot of Gold!

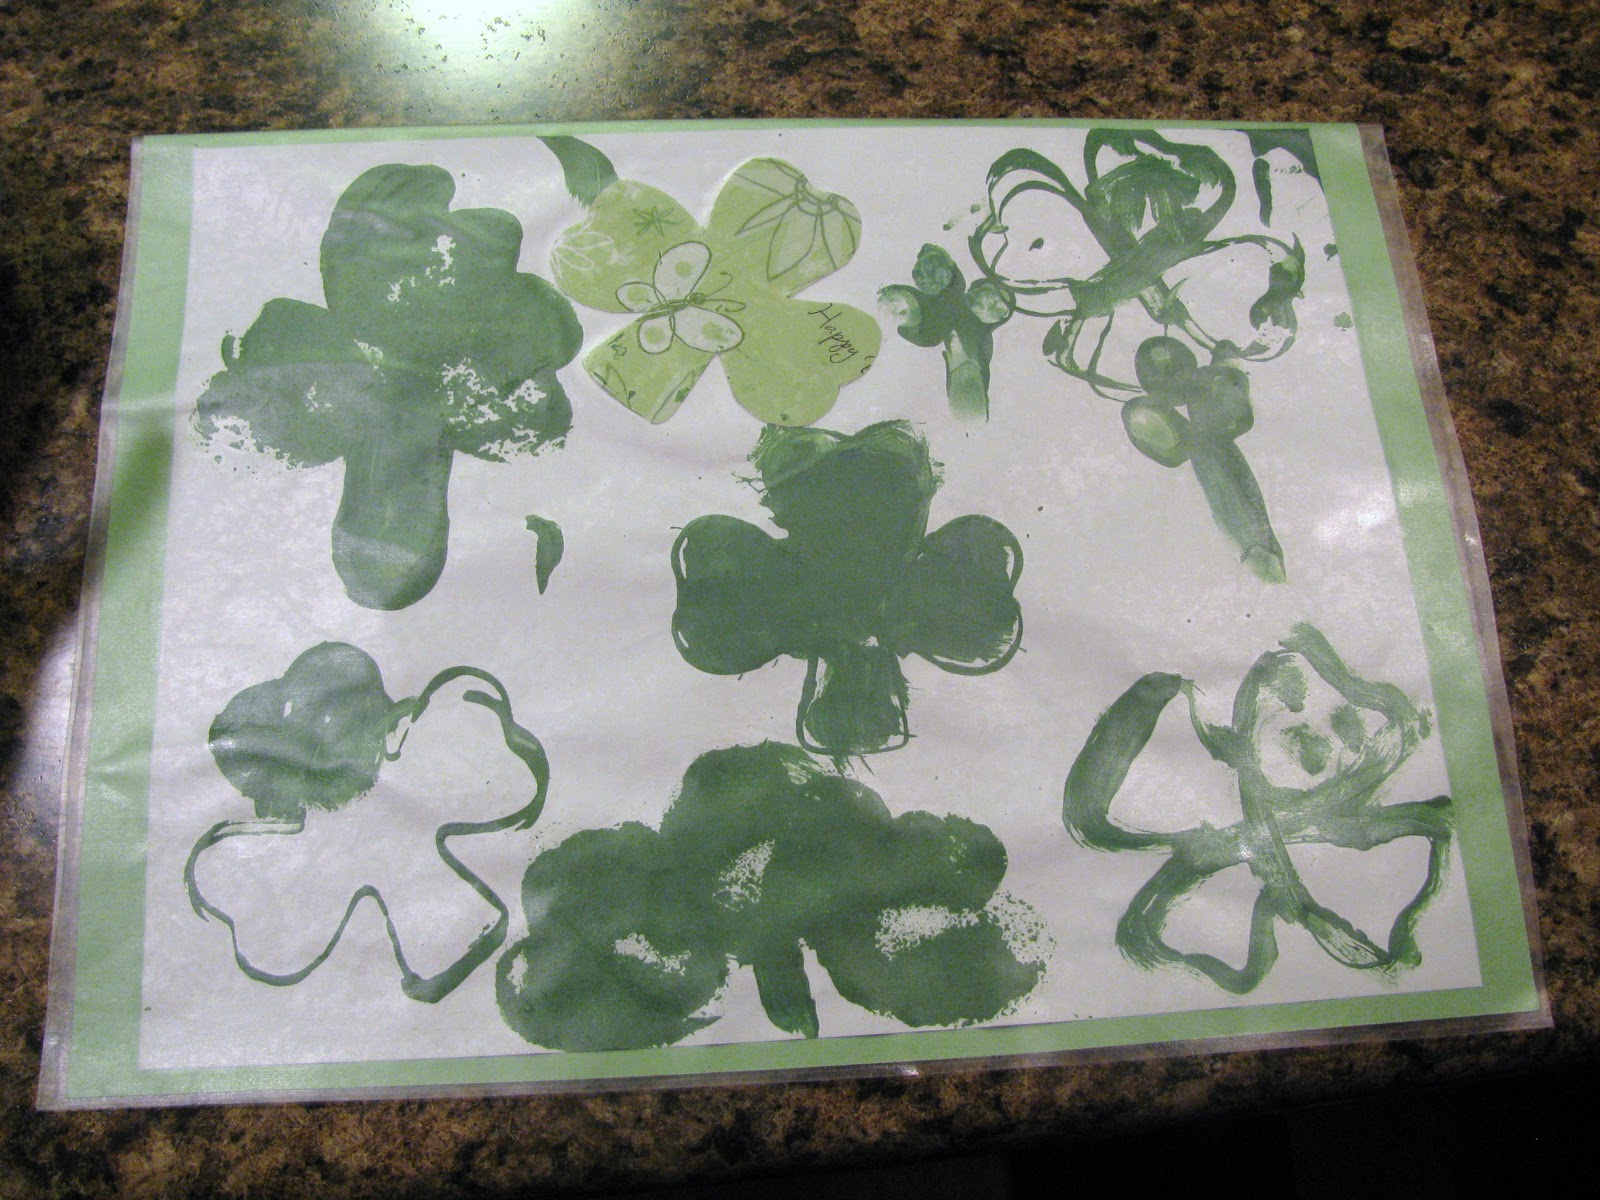
 Here is our St. Patrick's Day Placemat.  Connor is on Spring Break this week, so he was really excited to be able to make a placemat. 
Directions:  Decorate a sheet of white paper with different types of shamrocks.  Mat the paper with green paper and cover with Con-tact paper.

I saw this next craft on my blogger friend's blog http://www.adventures-in-mommy-land.blogspot.com/  She always has great projects.  This pot of gold craft was too cute to not make
Directions:  Cut a pot out of black construction paper - cut an opening on the top of the pot.  Lay the pot on a piece of Con-tact paper - sticky side up.  Add pieces of yellow tissue paper.  Cover the pot with another piece of Con-tact paper ( I made sure there was enough Con-tact paper to just fold over the top of the pot). 
Materials Needed:  black construction paper, Cont-tact paper, scissors, yellow tissue paper

Monday, February 7, 2011

Heart Placemats!

The theme this week is Valentines Day!
Project:  Heart Placemats -  We had to make placemats again!  The kids absolutely love making them and using them.  So here is our Valentines Day version. 

Directions:  Instead of using regular paper, we took card stock and gave it a marbled look it using shaving cream and food coloring.  Spread a 1/2 layer of shaving cream onto a shallow pan.  Squeeze food coloring onto the shaving cream (we used red and blue).  Swirl the food coloring and shaving cream together (we used plastic spoons).  Place the card stock on the swirled shaving cream and press lightly.  Remove the card stock and scrape off the shaving cream (you can use a squeegee or paper towel).  The end result is a beautiful, swirled, colored piece of paper!!  Once the paper is dry, add hearts or any other Valentine themed item!  I cut different size hearts out of fun, colorful card stock.  Finally, seal the placemat with Con-tact paper!  I forgot to add a colored matting to the back of the placemat - oh well!!!
Materials Needed:  card stock, shaving cream, food coloring, shallow pan, plastic spoons, squeegee, paper towel, colorful card stock, scissors, glue stick, Con-tact paper

Tuesday, January 11, 2011

Snowmen Placemats!

The theme this week is winter!
Project: Snowmen Placemats! In November we made Thanksgiving placemats, December we made Christmas placemats, and now in January we made Snowmen/winter placemats!!! Addie and Ty absolutely love making these placemats, but they love using the placemats even better.
I had Ty and Addie use white paint to stamp a snowman onto blue construction paper (I cut a sponge into 3 different circle sizes). Next, they used black paint to stamp the hat for their snowmen ( I cut a sponge into a hat shape). They added arms, buttons and facial features. For the next snowman, I cut different size circles out of white paper, along with a black paper hat. Ty and Addie glued the shapes on the blue paper to make their individual snowman. Again, they added arms, buttons and facial features. They added winter stickers to their placemats, and I spelled out WINTER with letter stickers. When the paint was dry, I matted the blue snowman paper onto construction paper and covered each placemat with Con-Tact paper! Ty's placemat bubbled a little :(
Materials Needed: blue construction paper, 2 different colored sheets of construction paper (for the matting), white and black paint, sponge cut into snowman shapes, paint brush, white paper, scissors, black paper, black and orange marker, winter/snowman stickers, glue stick and Con-Tact paper

Thursday, December 16, 2010

Christmas Placemats!

The theme this week is Christmas!!
Project: Christmas Placemats! Ty and Addie had so much fun making and using their Thanksgiving placemats, that Ty requested making Christmas placemats! So, I gave them a white piece of construction paper, cut-out pieces to a reindeer and a Christmas tree and they assembled the parts. I helped them with their reindeer's antlers, but they each added their own individual touches to their placemats. I also gave them Christmas stickers, so they could add a little more their placemats. When they were done, I glued the white placemats to green and red construction paper and used Con-Tact paper to seal/laminate the placemats into more durable and usable placemats!! I think they turned out really cute!!

Materials Needed: white, green and red construction paper, glue sticks, scissors, stickers, markers, and any kind of Christmas craft you want to have on the placemat, Con-Tact paper

Tuesday, November 23, 2010

Thanksgiving Placemat!

Addie's Placemat
Ty's Placemat

The theme this week is Thanksgiving!
Project: Thanksgiving Placemat! Ty and Addie constructed their very own construction paper Turkeys out of pre-cut pieces. They glued the pieces to white paper. Next, I painted Ty and Addie's hands with water color paint to make a turkey. I painted each of their palms and thumbs brown, and their remaining fingers different colors. Then they each pressed their hands onto the same white paper as their construction paper turkeys. I added feet and a beak. Ty and Addie gave each of their turkey's one eye with black marker. Ty and I added letter stickers to spell Gobble, gobble. We also added leaf stickers. I wrote Gobble, gobble on Addie's paper with orange marker. We glued the white paper onto colored card stock. Finally I used Contact paper to seal/laminate the placemats! Ty was sooooo excited to use his placemat!
Materials Needed: white paper, colored cardstock, glue stick, brown, red, orange, yellow construction paper, scissors, orange marker. leaf and letter stickers, water color paints, black marker, paint brush, contact paper